
Identify what caused the water loss: broken plumbing, appliance leak, roof problem, stormwater, sewage or another source. Ask whether the source is still active. The cause does not have to be repaired by the restoration provider, but it should be understood because it determines whether water may continue entering while cleanup is underway....
For local water-loss help in DeSoto, see Emergency Water Extraction in DeSoto TX.
Start with the source
Identify what caused the water loss: broken plumbing, appliance leak, roof problem, stormwater, sewage or another source. Ask whether the source is still active. The cause does not have to be repaired by the restoration provider, but it should be understood because it determines whether water may continue entering while cleanup is underway.
Map the visible and likely affected areas
Walk the water path rather than looking only at the largest puddle. Note adjacent rooms, closets, floor transitions, cabinet bases and areas below the source. A small visible spot can be connected to a larger hidden footprint, while a large puddle may remain mostly surface-level.
Check materials separately
Carpet, pad, hardwood, laminate, drywall, baseboards, cabinets, insulation and framing respond differently. A useful inspection notes both condition and moisture. The objective is to avoid overgeneralizing from one reading or one material.
Hidden moisture needs measurement
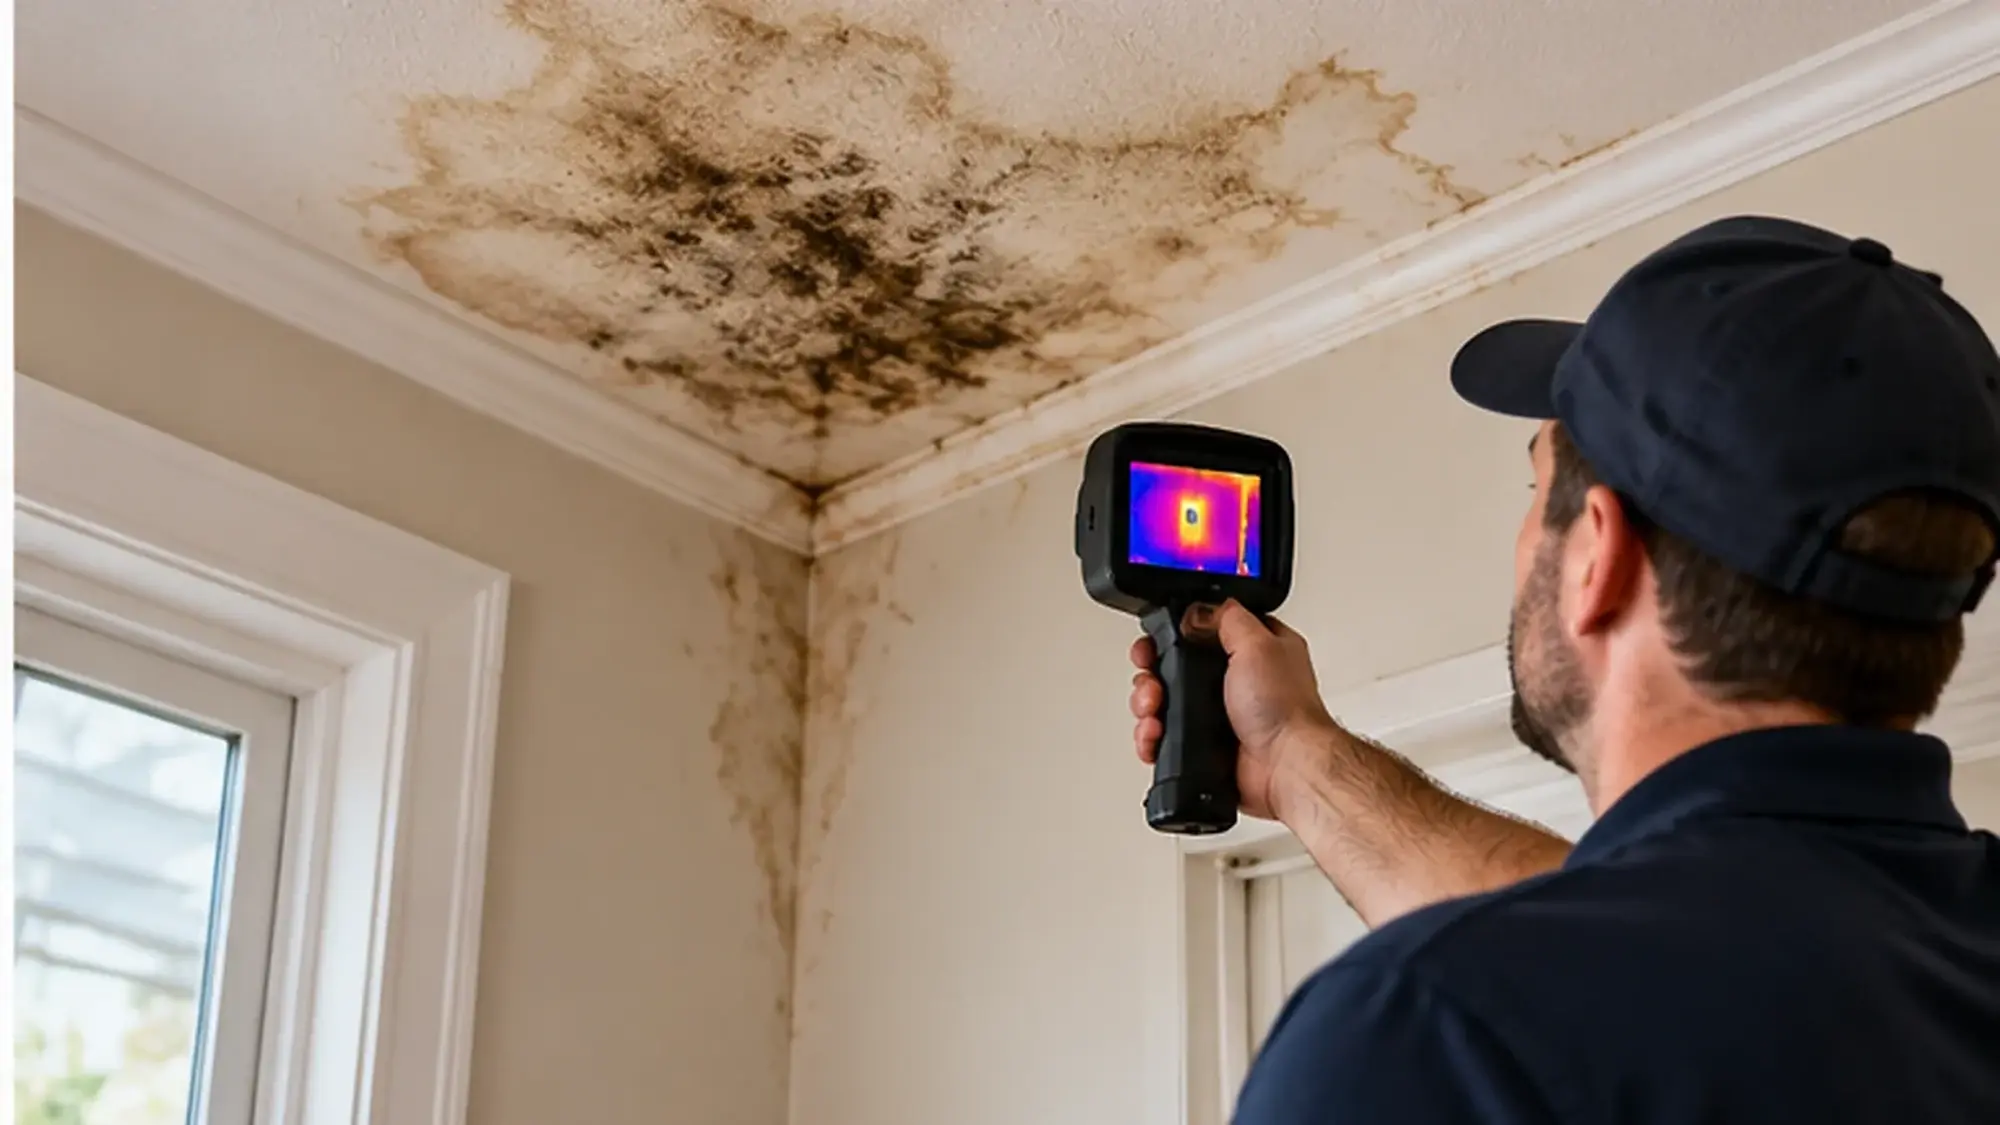
Visual inspection can identify clues, but moisture mapping can show where materials remain elevated. Compare affected materials with nearby unaffected materials of the same type when possible. Thermal imaging can help locate areas worth inspecting further, but readings still need confirmation with an appropriate moisture instrument.
For service-level response, and cover the next steps after inspection.
Look for safety and contamination flags
Electrical hazards, unstable ceilings, unknown water source, sewage, outdoor floodwater and structural movement all change the response. Record these conditions before anyone starts moving through the affected area.
Document before major changes
Photograph rooms, materials, contents and the apparent source. Keep dates, notes and records together. Good documentation is especially useful when multiple parties are involved in mitigation, plumbing, roofing or insurance review.
When a homeowner inspection is enough and when it is not
A small clean spill with no structural impact may be manageable at home. A spreading loss, hidden moisture, contaminated water or wet building assembly deserves a more complete assessment. The boundary is less about water volume than about uncertainty and consequences.
A useful inspection creates a map, not just a list
Start with a floor plan or simple sketch and mark the source, visible water, suspected migration and materials. Note where moisture was measured and where no moisture was found. This turns scattered observations into a repeatable record.
For multi-room losses, date each inspection because conditions can change quickly as water is extracted and materials begin to dry.
Use evidence to narrow the scope
An elevated moisture reading is most useful when it can be compared with an unaffected baseline. Likewise, a thermal image is useful when it points to an area worth checking rather than being treated as proof by itself.
The purpose of inspection is to identify what needs action, what can remain in place and what should be monitored.
A room-by-room inspection example
In a kitchen loss, check the appliance area, cabinet toe-kicks, flooring transitions, the wall behind the cabinets and the room below if the source was elevated. In a ceiling leak, check the stain, surrounding ceiling, attic-side materials that are safely accessible and the wall below. The right checklist follows the source and assembly.
Record what is not wet
Documenting unaffected areas can be just as useful as documenting wet areas. A dry room, dry wall section or normal comparison reading can establish the boundary of the loss. That helps prevent the inspection from expanding simply because the original water event was large.
Questions that make an inspection useful
Ask what caused the water, where the assessor believes it traveled, which materials are actually wet, how those materials were measured and what will be monitored next. These questions keep the inspection focused on evidence. They also make it easier for the homeowner to understand why one area may be dried in place while another is removed.
The inspection should answer the next decision
A useful inspection does not stop at “wet” or “dry.” It should help answer what needs extraction, what needs drying, what requires closer inspection, what can remain in place and what needs documentation. That makes the inspection directly useful to the next stage of the project rather than simply creating a list of observations.
Inspection notes should be easy to follow later
Use clear room names, dates and material descriptions. Note whether a condition is visible, suspected or measured. This distinction helps the homeowner understand what is known and what still needs verification. A useful inspection becomes a working map for extraction, drying and repairs.
Common questions
What should a water-damage inspection include?
Source, affected footprint, material condition, moisture and safety or contamination flags.
Why inspect adjacent rooms?
Water can migrate beyond the room where the most visible damage appears.
Do visual checks replace moisture measurements?
No. Visual inspection identifies clues; measurement helps verify moisture condition.
Call +1 972-945-2324 and describe the source, affected area and water type for next-step guidance.
Call +1 972-945-2324